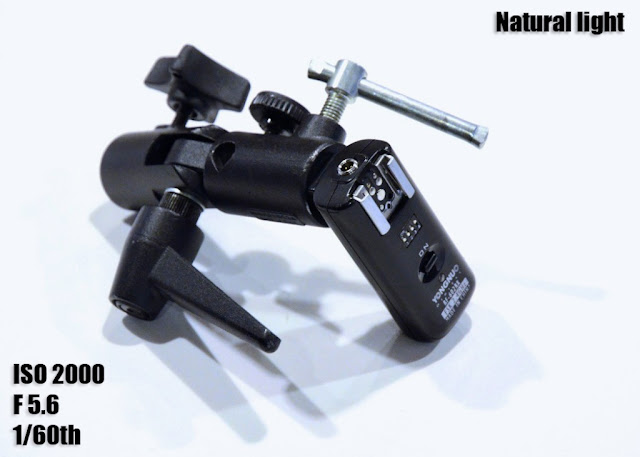
Ok, so some printer paper, poster board and the usual suspects (camera, flashes). Here's what we get with just the lighting in the kitchen and a little bit of cleaning up in the ol photoshop.
Color cast, lots of distracting shadows, noise etc. Not bad, but not good.
Lets add one light and adjust our exposure to get rid of the shadows.
Looking better. We've taken care of any color cast from our ambient light with our shutter speed. Good detail on the front of the product, but we are loosing the far side.
Ok, now we have some detail back there with the addition of that second light. You might stop there and call it good. Or you can add a little bit of top fill, which is what I did. I bounced a third light off the ceiling. This one needed more power out of it because of the distance it was traveling. (Ceilings are 12 feet or something in the kitchen)
Its a subtle effect, but I like how it softens the shadows underneath and gives a bit more legibility to the top. Here is a pic of the set up.
I set this up to show how the radio remotes connect to the top of an umbrella adapter without a cold shoe by screwing the brass stud directly into the remote bottom.
Instead of getting out the light stands, umbrellas and the whole 9 yards, I just folded a couple pieces of printer paper and shot the flashes through them. This set up works well for small objects and close distances.
Selling something on ebay? Want to shoot some macros? Hope this helps in your next small product endeavor.


No comments:
Post a Comment